Showing posts with label Hot Peppers. Show all posts

Thursday, August 16, 2012

Mexican Grilled Cheese

As usual, apologies for the lack of post last week-- business trip to Atlanta.  Moving on!  This week's sandwich comes to me courtesy of what is arguably the most famous grilled cheese blog of all (aside from mine of course ;-) ): Grilled Cheese Social.  OK, so it's not arguable-- GCS is the most famous grilled cheese site hands down, which means that this sandwich is sure to be a hit!  I guess I've been on a bit of a spicy kick lately as this is the second sandwich I've made in the last month that features jalapenos, but it also features a cheese I've yet to try on a grilled cheese (manchengo).  So let's get down to business.


Ingredients:
* Bread of choice (GCS suggested Texas toast, but we all know I loves me some Pepperidge Farm sourdough)
* Garlic powder, chili powder and paprika
* 1 cup of grated manchengo per sandwich
* Pickled jalapenos
* Ear of corn

One of the goals of this sandwich is to take advantage of the opportunity to grill!  Sadly, I do not have an outdoor space in which to do this.  So after some Internet searching on how to grill indoors I decided to just go ahead with trying to "grill" my corn over one of my stove burners (I have a gas stove).  After removing the husk and silks from the corn and jamming it onto the end of a big fork I was as ready as I was going to be.


I took my time and gradually turned the corn over the burner until I had a nice charred appearance all around.  I got nervous a few times as small silk strands caught fire or the corn made strange popping noises, but fortunately I did not have to utilize my contingency plan for if the corn caught fire: throw it in the sink and run.  Once done I had a messy burner and a piece of corn that looked like this:


Excellent.  I should mention that I am pet sitting this week and had a very attentive audience for the entirety of my time in the kitchen.


It's like I have fans!  Maybe I should start my own cooking show?  Or maybe I should wait until I have actual humans expressing interest in my endeavors.  Oh well!

Next up I needed to make some smoked chili butter, which just involved combining some butter with about 1 tsp. each of chili powder, paprika, and garlic powder.  We all know how I love some flavored butter, so this step got me pretty excited (especially since I was met with success the first time I made spicy butter back with my broccoli and cheddar sandwich).

Don't worry, I actually mixed it together.
Next I sliced the corn kernels off the cob, which was much easier than I thought it would be-- it just shaved right off!


After grating the manchengo I was ready to assemble the sandwiches.  I did 3.5 this week because Colin was starving but I was not, so 2 for him, 1.5 for me.  First I buttered one side of the bread slices and placed them face down on my plate.  Next came a hearty handful of manchengo on each slice of bread.


Followed by the corn.


And, who could forget the jalapenos?  They came in a can as whole peppers, so I sliced them up so that they'd lay flat on the sandwiches.


This was followed by the rest of the manchengo and the second slice of bread (buttered on the exterior, of course).


The final sandwiches were pretty thick!  So the grilling process definitely called for the two spatula approach, but the extra effort was well worth it once I saw the delicious sandwiches!


Taste Review:

The bread is nice and crunchy (as always) while the inside is smooth without being creamy.  There's lots of flavor in this sandwich!  I love that the corn is sweet and strong enough of a presence to stand up to the spicy jalapenos, but not so strong that it's the only flavor in the sandwich.  The jalapenos aren't pure spice though, they also have a vinegar-y flavor due to the fact that they're pickled.  But the pickling didn't really impact the sandwich one way or the other. 

I'm not sure if I could really taste the chili butter.  It might just be blending into the spiciness of the jalapenos, but I'm sure it adds some subtle flavor notes that I'm not even picking up.

As usual, I could have gone for more cheese.  It's melted well, but not as gooey as a softer cheese (like Gouda) might be.  Obviously this is the nature of the manchengo, but we do love a nice gooey sandwich, so perhaps we could feign gooey-ness by adding more cheese.

At first I was proud of myself for not being overwhelmed by the jalapenos, but the more I ate the hotter my mouth got.  I decided to try some sour cream for dipping and that hit the spot.  It helps to neutralize the spice while retaining the sandwich's flavor.  It also adds a little more of a creamy element, which is something we said was missing due to the lack of gooiness from the cheese.  But, seeing as how Colin has no taste buds and loves all things super spicy, he said he thought the level of spice was just right and no condiments were needed.  For once our stances on condiments were reversed.


FINAL RESULTS:

Sandwich:
Mexican Grilled Cheese
Gooey-ness:
3
Aroma:
2
Appearance:
Bland colors for a bold sandwich.
Taste:
A-

Gooey Scale
Aroma Scale
1 = still cold/hard
1 = can’t smell a thing
2 = slightly melted but still firm
2 = tender waft
3 = melted evenly
3 = makes your stomach growl
4 = melted and slightly runny (starting to get those cheese strings between your sandwich and your mouth when you take a bite)
4 = strong scent
5 = runny
5 = overpoweringly pungent
6 = sloppy mess!


P.S. While we're on the subject of me cooking with Mexican inspired items, check out the dulce de lece brownies I made for Colin's co-worker's birthday!

Deelish

Thursday, July 19, 2012

Jalapeno Popper: The Sequel

This week is Colin's birthday, so I wanted to be sure that our sandwich reflected his tastes, which means one thing: it must be spicy.  You may remember that around this time last year Colin created his own jalapeno based sandwich.  We liked it then, but there's always room for improvement/innovation, and I had seen a jalapeno popper grilled cheese recipe floating around on Pinterest, so I decided to give it a try.  This one actually remains a little truer to the basic structure/ingredients of an actual jalapeno popper.


Ingredients are as follows:
* Jalapeno peppers (we used 3 total that we picked from our very own jalapeno plant, but four would have been ideal)
* Sourdough
* Cream cheese
* Cheddar
* Jack
* Butter
* Tortilla chips

Our first order of business was bisecting the jalapenos and putting them in the broiler for about 12 minutes (until their skins turned black like this):


Next I put them in a ziplock bag for them to stew in their own steam for awhile.  This makes it easier to peel off the skin.


While those were steaming I started preparing the sandwiches.  Since we only had 3 peppers we were only making 2 sandwiches (instead of our usual four), but again-- the ideal would be 4 peppers, 2 per sandwich.  I started by spreading 1 tablespoon of cream cheese on each slice of bread (4 Tbsp total).


Once that was taken care of I turned to the jack and cheddar cheeses.  The recipe calls for "1/2 cup jack and cheddar cheese, shredded," so I just went ahead and shredded as close to one cup as I could eyeball, trying to get an even representation of both cheeses.  Once that was done, I spread half of the cheese evenly on two of the slices of bread (saving the other half for later).


Once this was all done the jalapenos were about ready to be handled again, so I took them out of their bag, carefully peeled their skins off, and sliced them into strips.


They were then, of course, added to the sandwiches.


Next the recipe called for one tablespoon of crushed tortilla chips per sandwich.  An interesting choice, but I'm no stranger to putting creative ingredients on my sandwiches, so I was on board.


I then topped the chips with the remaining cheddar and jack.


From there it was all standard operating procedure-- sandwich the bread together, butter the outside of the sandwiches, and grill them up!  Before too long we had some delicious looking sammies on our hands.


Taste Review:

While the jalapenos were roasting they emitted a nice roasted pepper fragrance, but once they were inside of the sandwich their scent was muted by the cheddar cheese (the dominant aroma for this one).  Since we couldn't smell the jalapenos as strongly at this point, we were worried that they would also be overpowered from a flavor standpoint-- we were right; but it wasn't because of the cheddar cheese.  There's actually such a strong cream cheese presence that the cream cheese is what overpowers the jalapenos.  This might be an unfair judgment against the cream cheese since we didn't have as many jalapenos as we would've liked (and when I got a bite with the jalapeno it tasted like a great combination!) but this was all further evidence that we could, in fact, use some more jalapenos on this guy.

Surprise, surprise-- Colin elected to eat his sandwich with salsa and he said that this was a necessary decision.  He wasn't a fan of the strong cream cheese presence and needed another flavor to counter it.  We both agreed that the sandwich could use less cream cheese, but Colin argued that it shouldn't have any.  He actually had added some pepper jack to his sandwich and said that the pepper jack, monterey jack, and cheddar would be a perfect combination for this sandwich (with more jalapenos, of course).  The cream cheese does help to keep the filling creamy, but we started to wonder if there were other ways to do that as well (its rich flavor just wasn't the right fit).  We thought that maybe mixing sour cream in with the cheddar and monterey jack before adding it to the sandwich would give the adhesion necessary to keep the cheese on the sandwich gooey and would be a more appropriate flavor.

Last comment: the tortilla chips tasted chewy instead of crunchy, so they didn't really add much to the sandwich.  I'd say they should be a side dish with some salsa instead.


FINAL RESULTS:


Sandwich:
Jalapeno Popper 2
Gooey-ness:
3.5
Aroma:
2
Appearance:
Bright orange and yellow with green spots.
Taste:
B-


Gooey Scale
Aroma Scale
1 = still cold/hard
1 = can’t smell a thing
2 = slightly melted but still firm
2 = tender waft
3 = melted evenly
3 = makes your stomach growl
4 = melted and slightly runny (starting to get those cheese strings between your sandwich and your mouth when you take a bite)
4 = strong scent
5 = runny
5 = overpoweringly pungent
6 = sloppy mess!

Friday, November 11, 2011

Feta and Eggplant on Pita with Sesame-Yogurt Sauce

I know it's going to be hard to follow up the grilled cheese martini post (it became my most popular post of all in the span of like 3 days), but it's time for me to get back to edible (rather than drinkable) sandwiches.  This week's sandwich serves as a bit of a cautionary tale as to why one should read the whole recipe before starting to cook.  I'm not saying the time invested wasn't worth it in the end, but let's just say I was not prepared for ~1 hour of prep work.  But, since there's a lot to cover let's jump right in!

We have two components to the sandwich this week-- a filling and a sauce.  For the filling we need 5 Tbsp. olive oil, 1 small onion, 1 large jalapeno pepper, 2 cloves garlic, 1 large eggplant, 1 tsp. sesame oil and 6 ounces feta cheese.  For the sauce we need 1 Tbsp. sesame seeds, 1/2 cup plain yogurt (or sour cream), 1/2 tsp. ground cumin (which I happily skipped over-- by now we all know my feelings on cumin), 1/4 cup loosely packed mint leaves, 1/4 tsp. fresh lemon juice and salt and pepper.  Of course pita bread was also a necessity.


Phew!  Quite the little shopping list we have here!  For the most part everything was easy to come by (I didn't find the sesame oil, though).  The only slight hiccup came when choosing appropriately sized pita bread.  I knew each sandwich would only use half of one pita (filling would go in the pocket), so the smaller "standard" sized pitas seemed too small.  Instead I opted for pitas that were about the size of dinner plates.  In retrospect this probably wasn't the right choice, but live and learn.

My first task was making the sauce-- if only I had read all the way through the directions I would have known that I could've prepared the sauce a day in advance to save time, but c'est la vie.  I started out by toasting the sesame seeds on a low heat for about 5 minutes.  I was actually surprised by the noticeable change that took place.  They went from bright white to perfectly toasted!


Once they were ready I mixed them into the yogurt along with half of the mint and the cumin and lemon juice (had I chosen to add those ingredients-- I don't like cumin and I didn't have lemon juice). 


I popped that into the fridge and was ready to move on to making the filling.  This is where things start to get time consuming.  Step one was cooking the sliced onions in 2 Tbsp. of olive oil until they are limp, but not brown.  "Easy peasy," I thought, "I cook onions all the time."


Welll.. sort of easy... until I turned them partially brown :-/


While those were cooking I was spending some time slicing and dicing my eggplant and jalapeno.  And by that I mean my sous chef was doing it.  My usual sous chef was out of town, so in a fortuitously good twist of fate my more experienced sibling sous chef was able to step in and show me how to peel an eggplant before dicing it into 1/2" dice for me :-)  She did so well with that that I also tasked her with finely chopping the jalapeno (after I removed the stem and seeds).  Once I saw how much eggplant we were working with I quickly realized I would be needing a larger pan, so I went ahead and transferred the onions over to an appropriately sized skillet.


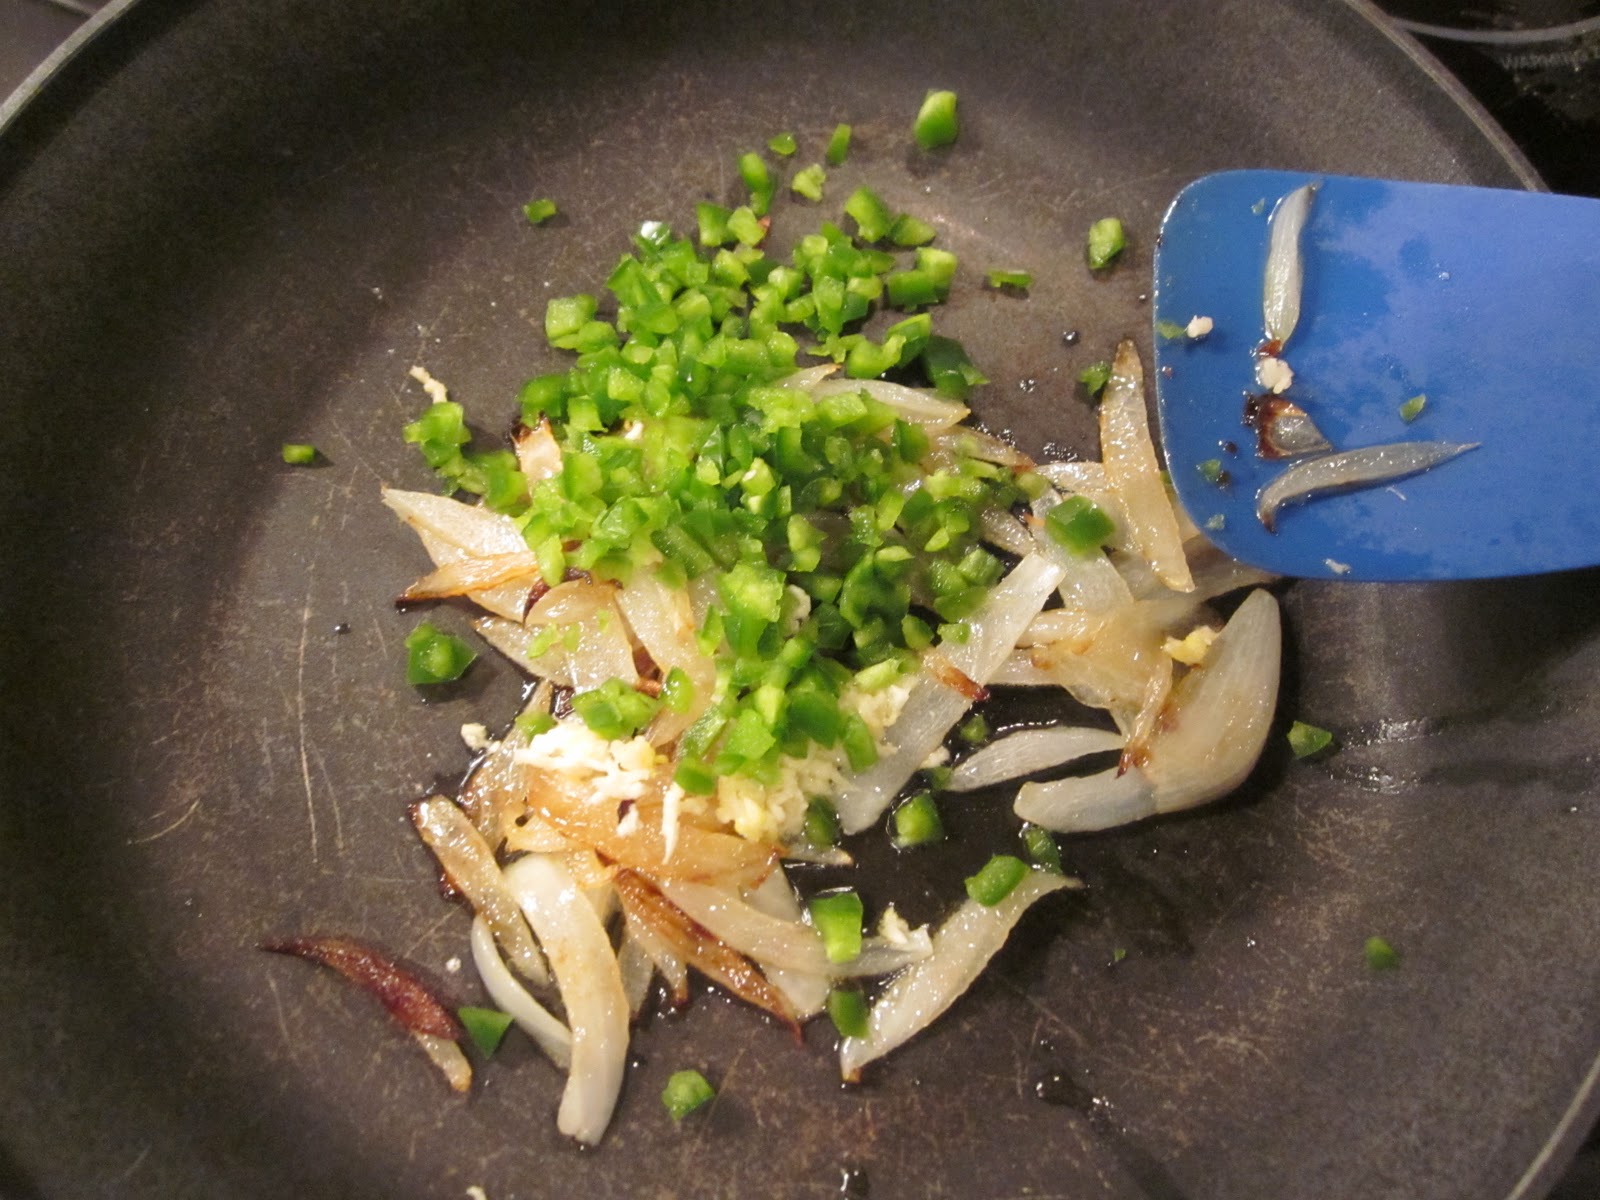
Once the onions were cooked it was time to add the jalapenos and the 2 cloves of minced garlic.  That all cooks together for about a minute before you add another tablespoon of olive oil, let it warm up for a minute and then reduce the heat to medium low in preparation for the eggplant.


So here I am, moving right along with the recipe, all is well and then I read "Add the eggplant, stir to coat it with oil and cover.  Cook, stirring occasionally, for 30 minutes or until eggplant is dark brown and very soft."  What?!  OK, 30 minutes might not sound like a long time to you, but since I ate lunch at 11:30 AM and it was 8:00 PM when I read that there was to be at least 30 more minutes of cook time, I was not a happy camper.  Needless to say, the bag of pita bread was opened shortly thereafter :-P


So yes, I left the eggplant to cook and would come and stir it once every ~5 minutes until I ended up with something like this:


Mmmm it smelled so good!  Next the recipe called for the sesame oil, the remaining mint, and salt to taste.  I'm not big into adding salt to my food and I've already said I skipped the sesame oil, so all that I added was the rest of the mint.


Now it was time to let the eggplant cool (while covered) for... 15 MINUTES?!  Good thing there were 5 4 more pitas in that bag.


Once the filling was (finally) cool to the touch it was time to drain off any excess oil (of which there was none since I didn't add any) and stir in the feta.


Next I cut two of the large pitas in half and brushed doused each side with some olive oil. I was only making 3 sandwiches so I divided the filling into 3 even portions and stuffed it into the pockets. 


This is what convinced me that I had chosen the wrong sized pita bread.  There was plenty of room around the edges of the pita that was not occupied by filling.  If this had been made with the smaller pitas then they would've been stuffed to the brim (as I imagine they should be).

From here it was same old same old-- cooking each sandwich for 2 minutes on each side (while covered) until the pita is golden brown.  At long last they were ready to be served! (with the sesame-yogurt sauce on the side).


Taste Review:

The initial aroma we all smelled was just the toasted olive oil, not any sort of scent from the actual sandwich filling.  But, since I've learned that initial scents can be deceiving-- I had to let my taste buds tell the true story.  The first bite was very sweet thanks to the cooked onions and the soft eggplant.  I love the taste of cooked sweet onions.  The feta isn't gooey at all (it's just not the nature of the cheese), but it gives the necessary tang to compliment/offset the sweet filling.

Next it was time to assess the sauce.  I think the sandwich stands just fine on its own, but the sauce does provide a nice cool element if that's what you're in the mood for.  The sesame seeds in the sauce are very mild-- I could taste them if I really focused on trying to discern that flavor, but wouldn't have necessarily noticed them otherwise.  Speaking of mild, the jalapeno had virtually NO spice.  I imagine this is because I had removed the stem and seeds, but the sandwich could've used a bit more of a kick (where was Colin and his Sriracha when we needed it)?

The flavor that does take over (if you happen to get a bite of it) is the mint.  We were divided on whether or not the mint was good.  I wasn't huge on it, but my mom and sister both liked it.  I think my main issue with it was that I hadn't chopped up the leaves, so you either got one huge bite or none at all.  If it were chopped I could see myself getting on board even though mint isn't a flavor I traditionally associate with Mediterranean dishes.

One miscellaneous note to highlight is how MESSY the pita is.  I literally didn't know how to approach eating it because the filling falls out of the pita so easily (since the bread is so thin on either side when you create the pocket).  We all had to get forks to finish it up.


FINAL RESULTS:


Sandwich:
Feta and Eggplant on Pita with Sesame-Yogurt Sauce
Gooey-ness:
1: not at all gooey, but VERY messy!
Aroma:
2
Appearance:
Looks like a Mediterranean quesadilla.
Taste:
B+


Gooey Scale
Aroma Scale
1 = still cold/hard
1 = can’t smell a thing
2 = slightly melted but still firm
2 = tender waft
3 = melted evenly
3 = makes your stomach growl
4 = melted and slightly runny (starting to get those cheese strings between your sandwich and your mouth when you take a bite)
4 = strong scent
5 = runny
5 = overpoweringly pungent
6 = sloppy mess!


The feta wasn't the main focus like it should be for a true grilled cheese.  This filling could stand on its own as an appetizer and, while it's tasty, I'm not sure I'd say it's a prime example of a grilled cheese (remember, the cheese must stand alone).

Next Week: I don't have my cook book with me as I'm writing this post, so TBD.